Medical device development is a high-stakes engineering discipline where the gap between a sketch and a regulatory submission is vast. According to industry data, nearly 40% of medical device startups fail to reach the market due to engineering missteps during the prototyping phase. This statistic highlights why a structured approach to concept validation is critical for survival. The journey from a napkin sketch to a functional prototype requires rigorous planning, cross-functional collaboration, and adherence to quality standards. This guide outlines the precise steps to navigate this complex landscape successfully. (About A65 Consulting)
Defining the Core Concept and Requirements
The first step in turning a medical device concept into a prototype is establishing a clear definition of what the device must do. This phase is not about building; it is about understanding. User Needs Analysis is the systematic process of identifying the clinical problems your device will solve. Without this foundation, engineering efforts are often misdirected toward features that do not add clinical value.
During this stage, you must translate clinical needs into technical specifications. This involves defining performance metrics, safety boundaries, and regulatory constraints. For example, if your device is intended for home use, the user interface must be intuitive for non-clinicians. If it is for surgical use, sterility and precision become the primary drivers. This translation process ensures that the prototype will address the right problems from the start.
It is also essential to identify the target regulatory pathway early. Regulatory Strategy is the plan that outlines how your device will comply with FDA or international standards. Knowing whether your device falls under Class I, II, or III classification dictates the level of rigor required in your prototyping phase. A Class III device will require significantly more validation data than a Class I device.
Conceptual Design and Feasibility
Once requirements are defined, the next step is conceptual design. This phase involves generating multiple design solutions and evaluating them against your technical specifications. Design for Manufacturing (DFM) is the practice of designing products in a way that makes them easy and cost-effective to manufacture. Integrating DFM principles early prevents costly redesigns later in the development cycle.
Teams often use tools like Failure Mode and Effects Analysis (FMEA) to identify potential risks in each conceptual design. This proactive approach allows engineers to mitigate risks before they become physical problems. For instance, if a specific material is prone to fatigue, the design can be altered to use a more durable alternative before any metal is cut.
Feasibility studies are also critical at this stage. These studies test the core technology to ensure it works in principle. If your device relies on a novel sensor, you must first prove that the sensor can detect the target signal in a simulated environment. This reduces the technical risk associated with the prototype development.
Rapid Prototyping and Iteration
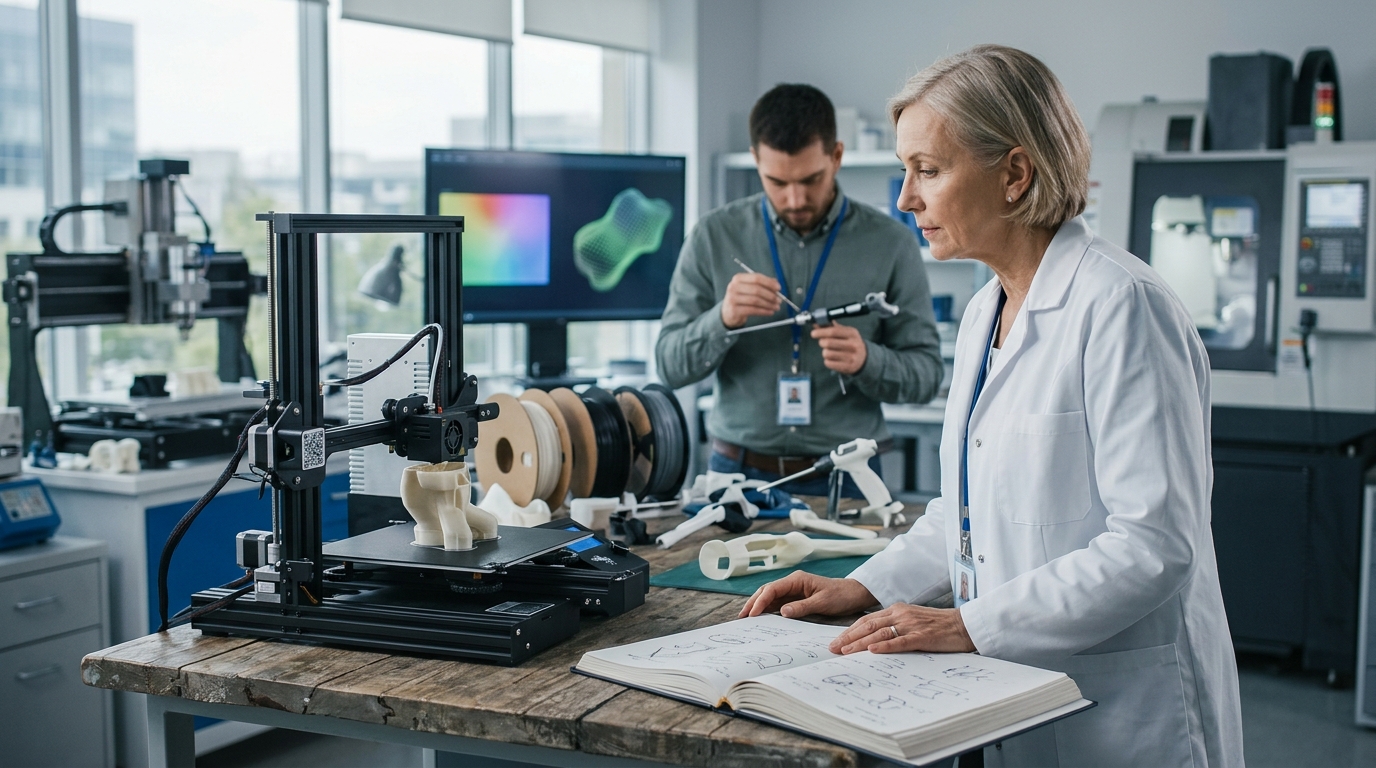
With a selected concept, the focus shifts to creating physical artifacts. Rapid Prototyping refers to the quick fabrication of model parts used to verify a concept. This phase is often divided into Proof of Concept (PoC) prototypes and Alpha prototypes.
Proof of Concept prototypes are typically rough models made using 3D printing or off-the-shelf components. Their sole purpose is to validate the core functionality. They are not intended to look like the final product. For example, a surgical tool might be prototyped using a standard handle and a 3D-printed tip to test ergonomics and reach.
Alpha prototypes are closer to the final design in terms of form and fit. They are often used for internal testing and early user feedback. At this stage, you might engage with engineering consulting partners to gain specialized expertise in materials or mechanisms. These partners can help refine the design for manufacturability and performance.
Iteration is the heartbeat of this phase. Each prototype should reveal new information. If a component fails, the root cause must be identified and addressed in the next iteration. This cycle of build-test-learn is essential for reducing uncertainty and moving toward a viable product.
Verification and Testing Strategies
As prototypes mature, they must undergo rigorous verification. Verification is the process of confirming that the design outputs meet the design inputs. This is a formal engineering activity that requires documented evidence. It answers the question: "Did we build the device right?"
Testing strategies must be comprehensive. They should include bench testing, environmental testing, and usability testing. Bench testing evaluates the device under controlled laboratory conditions. Environmental testing ensures the device performs correctly under various temperatures, humidity levels, and shock conditions. Usability testing involves real users interacting with the prototype to identify potential use errors.
Data collected during these tests is critical for regulatory submissions. According to FDA guidelines, design verification data must be robust and reproducible. This means that tests must be repeatable and results must be consistent. Inconsistent data can lead to regulatory delays or rejection of the device.
It is also important to consider biocompatibility early. If your device contacts the patient's body, materials must be tested for toxicity and irritation. Biocompatibility Testing is the evaluation of the safety of a medical device in contact with the body. This testing often follows ISO 10993 standards and can take months to complete. Starting this process early prevents bottlenecks later.
Preparing for Manufacturing Transfer
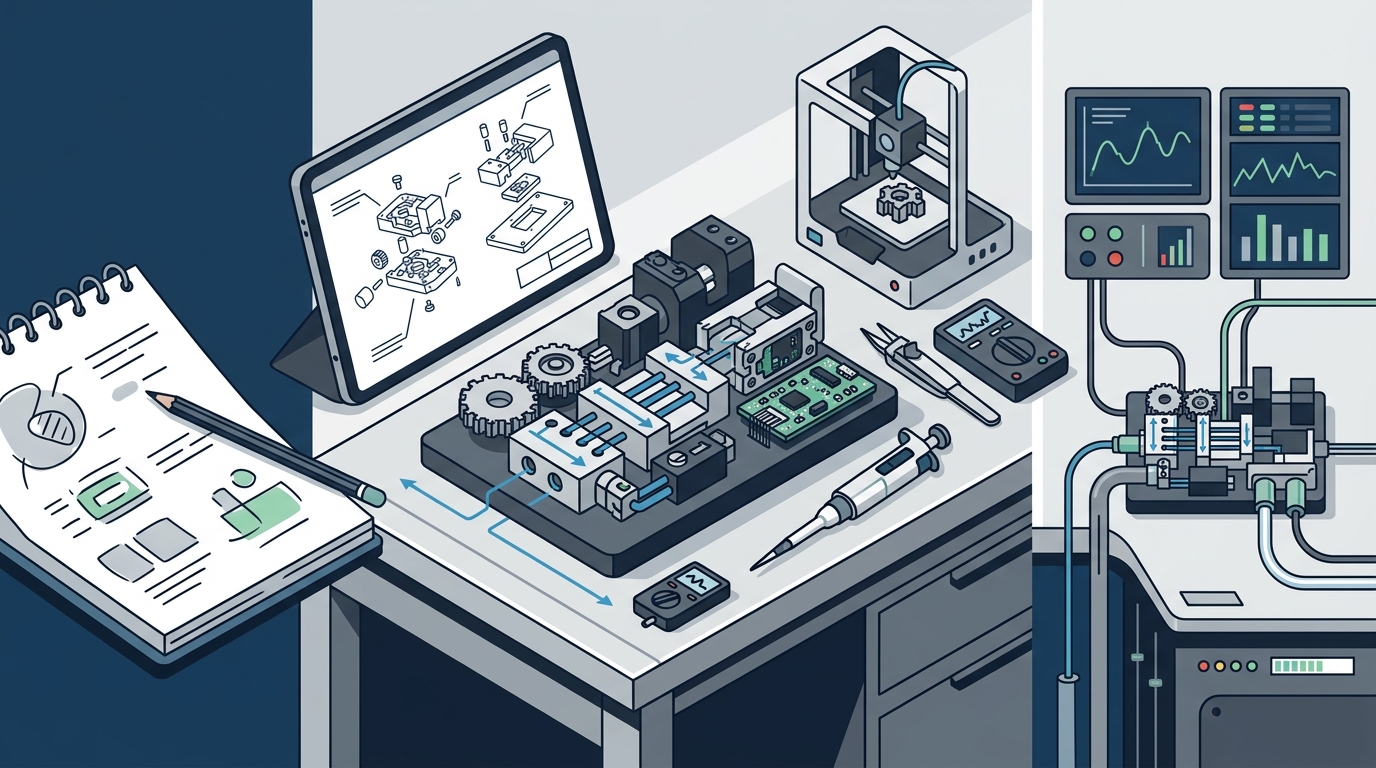
The final step in the prototyping journey is preparing for manufacturing transfer. This phase involves transitioning the design from the engineering lab to the production floor. Design for Manufacturability (DFM) reviews are conducted to ensure that the design can be produced at scale with high quality and low cost.
This includes selecting manufacturing partners, defining process controls, and establishing quality assurance protocols. The goal is to create a production-ready design that can be replicated thousands of times with minimal variation. This requires detailed documentation, including bill of materials (BOM), assembly instructions, and inspection criteria.
Working with experienced engineering firms can streamline this process. They provide the necessary expertise to navigate the complexities of medical device manufacturing. Their experience with past projects demonstrates their ability to deliver results under tight deadlines.
Key Takeaways
- Start with Requirements: Clear user needs and technical specifications are the foundation of successful prototyping.
- Iterate Quickly: Use rapid prototyping to test core functions early and reduce technical risk.
- Integrate DFM Early: Design for manufacturability prevents costly redesigns during production.
- Verify Rigorously: Documented verification data is essential for regulatory compliance and safety.
- Plan for Scale: Manufacturing transfer requires detailed documentation and process controls.
- Engage Experts: Partnering with specialized engineering firms can accelerate development and reduce risk.
- Focus on Usability: User testing ensures the device works in real-world clinical environments.
Frequently Asked Questions
How long does it take to turn a medical device concept into a prototype?
The timeline varies significantly based on complexity. Simple devices may take 3-6 months, while complex devices can take 12-18 months or more for initial prototyping.
What is the difference between a Proof of Concept and an Alpha prototype?
A Proof of Concept validates the core technology, while an Alpha prototype validates the form, fit, and function closer to the final design.
Do I need to follow FDA regulations during the prototyping phase?
Yes, even during prototyping, you must maintain design controls and documentation to ensure a smooth regulatory submission later.
How much does medical device prototyping cost?
Costs vary widely. Simple 3D printed prototypes may cost a few thousand dollars, while complex functional prototypes can exceed $100,000 depending on materials and testing.
Can I outsource the prototyping process?
Yes, many companies outsource to specialized engineering firms that provide end-to-end development services.
What materials are commonly used in medical device prototyping?
Common materials include ABS, PLA, and resin for 3D printing, as well as stainless steel, titanium, and medical-grade plastics for functional prototypes.
Why is verification important before manufacturing?
Verification ensures that the design meets all requirements, reducing the risk of costly errors during mass production.
How do I choose a prototyping partner?
Look for partners with experience in your specific device class and a proven track record of regulatory success.
Start Your Development Journey
Turning a medical device concept into a prototype is a complex but rewarding process. By following a structured approach and leveraging expert engineering support, you can navigate the challenges of development and bring your innovation to market. Contact A65 Consulting today to discuss your project and explore how we can help you achieve your product development objectives.