
Turning a Medical Device Concept into a Prototype: A Strategic 5-Step Roadmap
Medical device development is a high-stakes endeavor where the gap between a rough idea and a regulatory-approved product is bridged by rigorous engineering. According to industry data, FDA 510(k) submissions require extensive proof of safety and efficacy, making the prototyping phase the most critical juncture for de-risking your project. A65 Consulting has helped clients generate over $300 million in projected revenue by ensuring these early stages are executed with precision. This guide outlines the exact workflow to transform your concept into a viable, testable prototype.
Understanding the Basics of Medical Prototyping
Before diving into the steps, it is essential to define what a prototype actually is in the context of medical device engineering. A prototype is a preliminary model of a device built to test a concept or process. In the medical field, prototypes are not just for visual inspection; they are functional tools used to validate clinical utility, regulatory compliance, and manufacturing feasibility.
Medical device prototyping differs significantly from consumer electronics. The stakes involve patient safety, strict regulatory frameworks, and complex material science requirements. ISO 13485 standards dictate that every stage of development must be documented and traceable. This means that even your earliest sketches and digital models must be preserved as part of your Design History File (DHF). Working with a partner who understands these nuances, such as the team at A65 Consulting, ensures that your prototype serves as a robust foundation for future regulatory submissions.
Step 1: Concept Validation and Risk Analysis
The first step in turning a concept into a prototype is not drawing or coding; it is validation. Many developers skip this phase, leading to costly redesigns later. You must define the clinical need and the intended use of the device. This involves creating a User Need Document that outlines who the patient is, who the operator is, and what the clinical environment looks like.
Risk Management Integration
Risk management must begin at the concept stage. ISO 14971 requires that hazards are identified early. If you do not identify potential failure modes now, they will become expensive problems during verification testing. A65 Consulting emphasizes that risk analysis is not a one-time document but a living process that evolves as your prototype matures.
Defining the Minimum Viable Product (MVP)
Determine the Minimum Viable Product. What is the absolute minimum functionality required to prove the core concept? For example, if you are developing a surgical tool, the MVP might focus solely on the mechanical actuation, ignoring cosmetic casing for now. This approach saves time and resources, allowing you to iterate quickly on the most critical aspects of the device.
Step 2: Design Engineering and DFM
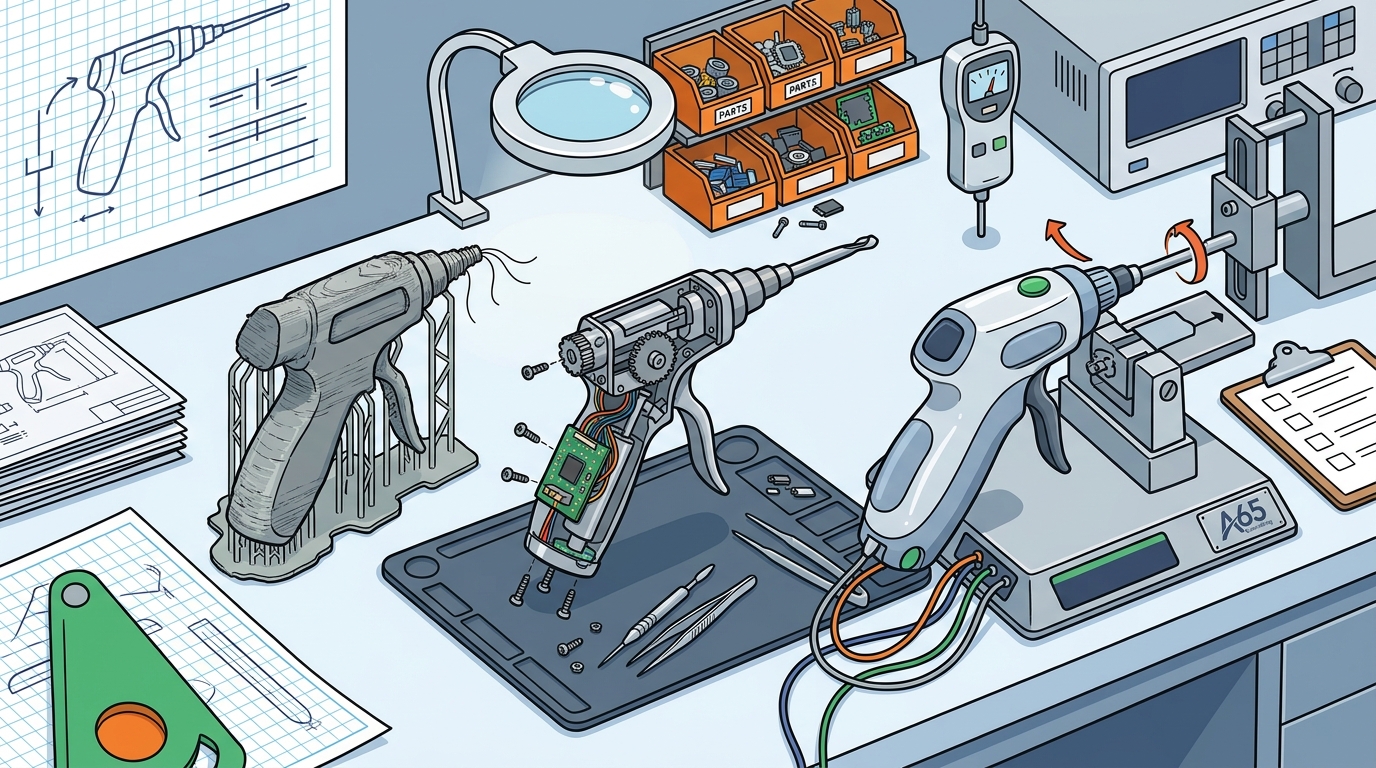
Once the concept is validated, you move into the design engineering phase. This is where digital models are created, and the physical form factor is established. However, design does not happen in a vacuum. It must be informed by Design for Manufacturing (DFM) principles from day one.
The Role of DFM in Prototyping
Many teams treat DFM as a late-stage cost-reduction exercise. This is a critical error. Design for Manufacturing is a quality exercise that ensures your prototype can actually be produced at scale. If your prototype uses a manufacturing process that is impossible to scale, you have not truly validated your concept.
Material Selection and Biocompatibility
Material selection is another pivotal decision. You must choose materials that are not only mechanically suitable but also biocompatible. ISO 10993 standards govern the biological evaluation of medical devices. Early consultation with material scientists can prevent delays in later testing phases. For instance, choosing a polymer that requires extensive sterilization validation can extend your timeline by months.
Step 3: Prototype Fabrication Methods
With the design finalized, you must choose the right fabrication method. The method you choose depends on the stage of development and the materials required. There are three primary categories of prototyping in medical device development.
| Prototype Type | Best Use Case | Pros | Cons |
|---|---|---|---|
| Look-Like | Ergonomics and User Interface Testing | Low cost, fast turnaround | Non-functional, limited material accuracy |
| Work-Like | Functional Validation and Clinical Testing | High fidelity, realistic performance | Higher cost, longer lead times |
| Pre-Production | Regulatory Submission and Pilot Run | Manufacturing-ready, high durability | Most expensive, requires tooling |
3D Printing and Rapid Prototyping
For early-stage prototypes, 3D printing (additive manufacturing) is often the go-to method. It allows for rapid iteration of complex geometries that are difficult to machine. However, 3D printed parts often have different mechanical properties than injection-molded parts. Therefore, they are best used for form and fit validation, not for final performance testing.
CNC Machining for Functional Prototypes
When you need a prototype that closely mimics the final material properties, CNC machining is superior. It allows for the use of medical-grade metals and plastics. A65 Consulting frequently utilizes CNC machining for work-like prototypes to ensure that the mechanical performance data collected is accurate and predictive of the final product.
Step 4: Verification and Testing
Verification is the process of confirming that your prototype meets the design requirements defined in Step 1. This is not validation (which confirms the device meets user needs); this is verification (which confirms the device meets the engineering specs). This phase is often where projects stall because testing is treated as a phase rather than a system.
Biocompatibility and Sterilization Testing
Before your prototype can be used in any human trials, it must undergo biocompatibility testing. This includes cytotoxicity, sensitization, and irritation tests. Additionally, you must validate your sterilization method. If your device is sterile, you must prove that the sterilization process does not degrade the material or compromise the function.
Human Factors and Usability Testing
Human factors engineering is critical for medical devices. Designing devices for clinical reality means testing your prototype with actual users in simulated environments. This helps identify use errors that could lead to patient harm. Usability testing should be iterative, with each prototype iteration addressing the feedback from the previous round.
Step 5: Preparing for Manufacturing Transfer
The final step in the prototyping journey is preparing for manufacturing transfer. This involves creating the Design Transfer package, which includes detailed drawings, bills of materials (BOM), and process specifications. The goal is to ensure that the manufacturer can produce the device exactly as designed, every time.
Design History File (DHF) Completion
Your DHF must be complete and auditable. This includes all design inputs, outputs, verification reports, and validation records. Verification is a system, not a phase, meaning that documentation must be maintained throughout the entire process. Gaps in your DHF can lead to regulatory delays or rejection of your 510(k) submission.
Supplier Qualification
You must qualify your suppliers for production. This involves auditing their quality management systems and ensuring they can meet your volume and quality requirements. A65 Consulting provides expertise in manufacturing transfer, helping clients navigate the complexities of supplier qualification and process validation.
Key Takeaways
- Risk Management is Foundational: Integrate ISO 14971 risk analysis from the very first concept to avoid costly redesigns.
- DFM is a Quality Exercise: Design for Manufacturing should be applied early to ensure your prototype can be produced at scale.
- Prototype Types Matter: Choose between look-like, work-like, and pre-production prototypes based on your validation goals.
- Verification is Systemic: Treat verification as an ongoing system, not a final testing phase, to ensure regulatory compliance.
- Human Factors are Critical: Test your prototype with real users to identify use errors before they become patient safety issues.
- DHF Completeness: Maintain a complete Design History File to support your regulatory submission and audit readiness.
- Expert Partnership: Working with a firm like A65 Consulting can accelerate your timeline and reduce development risks.
Frequently Asked Questions
How long does it take to turn a medical device concept into a prototype?
The timeline varies based on complexity, but a functional work-like prototype typically takes 3 to 6 months. This includes design, fabrication, and initial testing phases.
What is the difference between a prototype and a pre-production unit?
A prototype is used for design validation and testing, often using non-production materials. A pre-production unit is manufactured using the final production process and materials to verify manufacturability and performance.
Do I need to use a medical device engineering firm?
While not strictly required, working with a firm like A65 Consulting provides access to specialized expertise in regulatory compliance, risk management, and manufacturing transfer, which can significantly reduce development time and risk.
How do I choose the right prototyping method?
Choose 3D printing for rapid form and fit validation. Choose CNC machining for functional prototypes that require specific material properties. Choose injection molding for pre-production units that need to mimic final manufacturing.
What are the key regulatory requirements for medical device prototyping?
Key requirements include adherence to ISO 13485 for quality management, ISO 14971 for risk management, and ISO 10993 for biocompatibility. All activities must be documented in your Design History File.
Can I prototype a medical device myself?
While you can create initial concepts, functional prototyping for medical devices requires specialized engineering knowledge and equipment. It is highly recommended to work with experienced engineers to ensure safety and compliance.
What is the cost of prototyping a medical device?
Costs vary widely based on complexity. Simple mechanical prototypes may cost a few thousand dollars, while complex electronic or implantable devices can cost tens of thousands. A65 Consulting offers flexible engagement models to suit different budgets.
Start Your Development Journey
Turning a medical device concept into a prototype is a complex journey that requires expertise, precision, and a deep understanding of regulatory requirements. A65 Consulting is your partner in navigating this process, from concept to reality. We provide the engineering leadership and expert support to help you close critical gaps and keep your program moving forward.
Ready to transform your device concept into a viable product? Book a consultation with our team today to discuss your project and explore how we can help you achieve your product development objectives.